Introduction to Tongue and Groove Walls
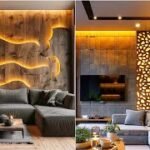
Imagine walking into a room that feels warm, inviting, and full of character. One design feature that can effortlessly elevate your space is tongue and groove walls. This classic woodworking technique not only adds visual interest but also creates an atmosphere of rustic charm or modern elegance—depending on your style. Whether you’re considering a cozy cabin feel or sleek contemporary lines, tongue and groove walls have something for everyone.
In this blog post, we’ll explore the many benefits of incorporating tongue and groove walls in your home. From practical installation tips to inspiring design ideas, you’ll find everything you need to transform any room with this timeless approach. Get ready to unleash your creativity!
Benefits of Using Tongue and Groove Walls
Tongue and groove walls offer a seamless aesthetic that adds character to any space. The interlocking design creates a polished look, making it perfect for both modern and rustic interiors.
Another advantage is the enhanced insulation they provide. This construction method helps reduce drafts and keeps your home energy-efficient. You’ll notice a difference in temperature control throughout the year.
Durability is key with tongue and groove panels. They are less prone to warping or cracking compared to traditional wall materials, ensuring longevity in high-traffic areas.
Installation is relatively straightforward as well. With proper planning, even DIY enthusiasts can tackle this project confidently, saving on labor costs while achieving professional results.
These walls are incredibly versatile when it comes to design options—from wood finishes to paintable surfaces—allowing homeowners creative freedom in their decor choices.
Materials Needed for Installation
To get started with tongue and groove walls, gathering the right materials is essential. You’ll need tongue and groove boards, available in various woods or engineered options. Choose a material that complements your space.
Next, secure some construction adhesive to reinforce your installation. This will help keep your boards snugly in place, minimizing gaps over time.
Don’t forget about fasteners! Galvanized nails or screws work best for holding the panels firmly without compromising aesthetics.
A level ensures everything stays even as you build up your wall. It’s crucial for achieving that polished look you desire.
Have a saw on hand—either a circular saw or miter saw—to cut the boards to fit your specific dimensions perfectly. These tools will make all the difference in creating a seamless finish.
Step-by-Step Guide for Installing Tongue and Groove Walls
Start by preparing your workspace. Clear the area and ensure that you have all materials on hand. Measure the wall space where you intend to install the tongue and groove boards.
Next, cut the boards to fit your designated spaces. Use a miter saw for precise cuts at 45-degree angles if necessary. Safety goggles are essential during this step.
Begin installation from one corner of the wall. Attach the first board using a level to ensure it’s straight. Secure it with nails or screws, making sure they penetrate into studs behind the drywall.
Continue adding boards, fitting them together snugly by inserting tongues into grooves. Maintain an even gap at both ends for expansion purposes as temperatures change.
Once finished, inspect your work for any gaps or misalignments before applying any additional finishes like paint or stain.
Common Design Ideas for Tongue and Groove Walls
Tongue and groove walls offer a versatile canvas for creativity. One popular design idea is to use contrasting colors. A dark stain paired with lighter hues can create a striking visual impact.
Another approach is incorporating patterns. Try installing the panels in a herringbone or chevron pattern to add depth and interest to any room. This technique works wonders in living spaces or accent walls.
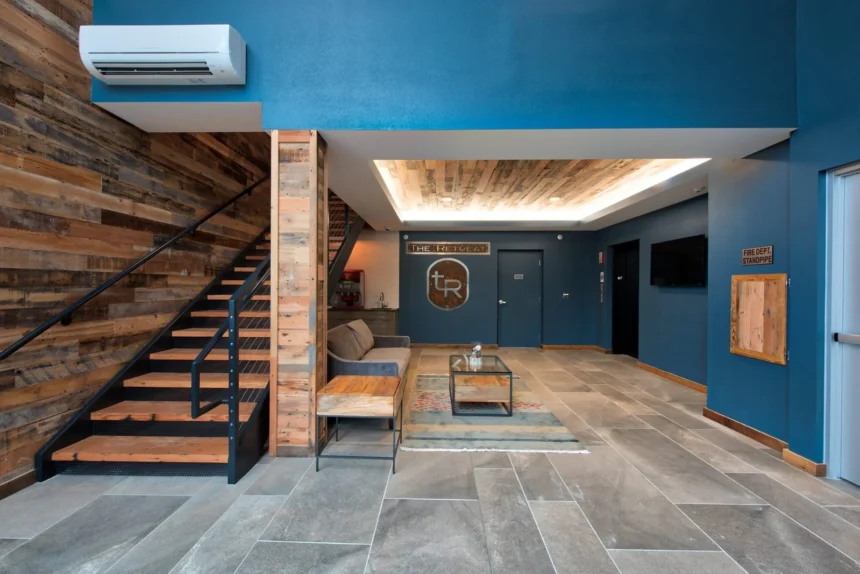
For those drawn to rustic charm, leave the wood unfinished. The natural grain shines through, enhancing warmth and texture in your home.
Consider using tongue and groove boards on ceilings as well. It extends that cozy feel upwards, making rooms appear more spacious while maintaining an inviting atmosphere.
Mixing materials can bring unique flair; combine wood panels with metal accents for an industrial twist that elevates modern designs effortlessly.
Maintenance and Care Tips
Maintaining tongue and groove walls is essential for their longevity. Regular cleaning keeps them looking fresh. Use a soft cloth or a gentle broom to remove dust and debris.
For deeper cleans, opt for mild soap mixed with water. Avoid harsh chemicals; they can damage the wood finish. Rinse thoroughly to prevent residue buildup.
Check for signs of wear periodically. Look for cracks or gaps between boards—these may need caulking or sealing. This helps maintain insulation and prevents moisture infiltration.
If your walls are stained, consider touch-up paint or stain that matches the existing color. Always test on a small area first to ensure it blends well.
Be mindful of humidity levels in your home. Extreme fluctuations can cause wood to expand or contract, so using a dehumidifier during damp seasons can help preserve your beautiful tongue and groove installation.
Conclusion
Tongue and groove walls are not just a practical solution; they bring an undeniable charm to any space. The benefits of using these walls include improved insulation, enhanced aesthetics, and increased property value. With the right materials and tools at your disposal, anyone can tackle this project successfully.
The step-by-step guide provided makes installation straightforward, allowing you to create beautiful interiors with ease. Additionally, exploring various design ideas can lead to unique expressions that reflect personal style while maintaining functionality.
Regular maintenance ensures your tongue and groove walls remain in excellent condition for years to come. With a little care, these walls will continue to impress.
Embracing tongue and groove construction opens up endless possibilities for both design creativity and home improvement projects. Whether you’re renovating or building from scratch, investing in this timeless technique is sure to elevate your space significantly.