A successful painting project is not just about selecting the right colors or finishes—it all starts with proper surface preparation. Whether you’re tackling a residential painting project or a small commercial painting job, preparing the surface correctly is crucial for achieving long-lasting and professional results. Neglecting this essential step can lead to issues such as peeling, cracking, and uneven application, ultimately compromising the appearance and durability of the paint.
From cleaning and sanding to priming and repairing imperfections, surface preparation sets the foundation for a smooth and flawless finish. Taking the time to prepare surfaces correctly ensures that the paint adheres properly and provides the desired aesthetic appeal.
Why Surface Preparation Matters
Proper preparation is key to the longevity of a paint job. Surfaces that are not adequately prepped can develop a range of problems, including:
- Poor Adhesion: Dirt, grease, and debris prevent paint from bonding properly to the surface, leading to peeling and flaking.
- Visible Imperfections: Cracks, holes, and rough textures can become more apparent once painted, affecting the final appearance.
- Inconsistent Coverage: Uneven surfaces absorb paint differently, resulting in streaks and blotchy patches.
- Reduced Durability: Without proper priming and cleaning, paint may deteriorate quickly, requiring frequent touch-ups or repaints.
Investing in thorough preparation not only enhances the final result but also protects the underlying materials from damage caused by moisture, dirt, and other environmental factors.
Steps to Proper Surface Preparation
Surface preparation involves several key steps that vary depending on the type of surface being painted. Whether it’s an interior wall, an exterior façade, or commercial space, following these essential steps will ensure a high-quality finish.
1. Cleaning the Surface
Before any paint is applied, surfaces must be cleaned thoroughly to remove dust, dirt, grease, and mildew. Even the slightest residue can prevent proper adhesion, leading to issues down the road.
For interior walls, a mild detergent solution and a sponge are usually sufficient to remove buildup. Exterior surfaces, on the other hand, may require pressure washing to eliminate accumulated grime and pollutants. Professional painters, like those at Green Diamond Painting, often use specialized cleaning techniques to ensure surfaces are spotless and ready for paint.
2. Repairing Imperfections
Cracks, holes, and dents can significantly affect the appearance of the finished paint job. Addressing these imperfections before painting is crucial for achieving a smooth and even surface.
- Filling Holes and Cracks: Use spackle or filler to repair minor damages in drywall and other surfaces.
- Sanding Rough Areas: Once filled, sanding smooths the repaired spots and blends them with the rest of the wall.
- Replacing Damaged Sections: In cases of severe damage, it may be necessary to replace portions of drywall or wood to ensure a flawless finish.
Taking the time to repair and smooth surfaces ensures a seamless application and enhances the durability of the paint.
3. Sanding for a Smooth Finish
Sanding helps create a smooth texture by removing rough patches, old paint, and surface gloss that could interfere with paint adhesion. Proper sanding techniques depend on the type of surface being painted.
For wooden surfaces, fine-grit sandpaper works well to smooth imperfections, while walls may require a light sanding to help the new coat of paint bond better. Sanding also removes any loose or chipping paint, ensuring a clean slate for the next layer.
4. Priming for Better Adhesion
Applying primer is an essential step, especially for porous surfaces, dark colors, and areas with stains or repairs. Priming provides several benefits, including:
- Enhancing paint adhesion.
- Blocking stains from bleeding through.
- Ensuring even color distribution.
- Increasing paint durability.
Choosing the right primer depends on the surface type. Oil-based primers work well for wood and metal, while water-based primers are ideal for drywall and previously painted surfaces.
5. Addressing Moisture and Mold Issues
Moisture is one of the biggest enemies of a long-lasting paint job. If not addressed before painting, it can lead to mold growth, bubbling, and peeling paint. Before painting, it’s important to check for leaks, condensation, and damp spots, especially in areas like bathrooms and basements.
In commercial spaces, high-traffic areas such as kitchens and restrooms are particularly prone to moisture-related issues. Proper waterproofing measures and mold-resistant primers can help protect these surfaces from future damage.
6. Taping and Masking for Clean Lines
For a professional finish, it’s important to protect adjacent areas such as trim, windows, and flooring by using painter’s tape and drop cloths. Masking off edges ensures clean lines and prevents accidental paint splatters, resulting in a crisp and neat appearance.
Whether painting a residential home or a small commercial property, taking the extra time to mask off delicate areas will contribute to a polished final look.
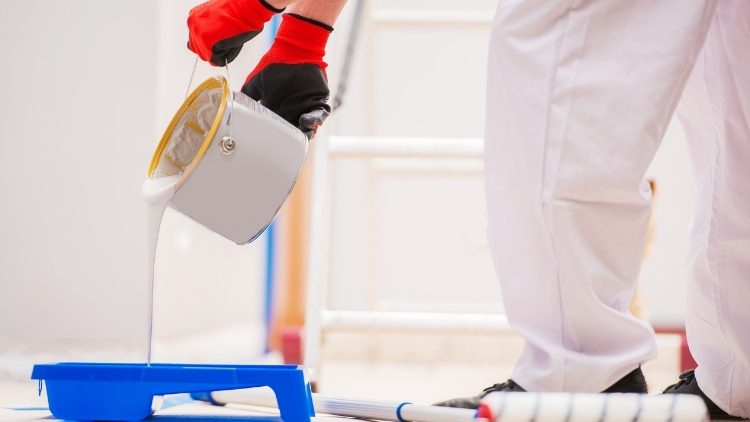
7. Choosing the Right Paint and Tools
Once the surface is fully prepped, selecting the appropriate paint and tools is essential for achieving the desired outcome. Different surfaces require different types of paint finishes, such as matte, satin, or gloss, depending on the functional and aesthetic requirements.
Professional painters can help homeowners and business owners make the right choices, ensuring that the selected paint meets durability and aesthetic standards. Green Diamond Painting offers expert advice on paint selection to match the needs of any project.
Common Mistakes to Avoid During Surface Preparation
Skipping or rushing through preparation can result in unsatisfactory results. Some common mistakes homeowners make include:
- Skipping the primer: Failing to prime surfaces properly can result in uneven paint coverage and poor adhesion.
- Ignoring dust and debris: Painting over dusty or dirty surfaces can lead to imperfections in the finish.
- Over-sanding: Excessive sanding can damage surfaces and make them more porous than necessary.
- Using the wrong filler: Choosing the wrong type of filler for repairs can lead to cracks and peeling.
Being aware of these mistakes can help homeowners achieve better results and avoid unnecessary rework.
When to Hire Professionals for Surface Preparation
While DIY painting can be a rewarding experience, surface preparation requires skill, attention to detail, and the right tools. Professional painters bring expertise and efficiency to the preparation process, ensuring that every step is completed correctly.
For large projects or challenging surfaces, hiring professionals like Green Diamond Painting can provide peace of mind, knowing that the job will be done right the first time. Their experience in residential painting and small commercial painting guarantees a smooth and long-lasting finish.
Conclusion
Proper surface preparation is a critical component of any painting project, ensuring that paint adheres correctly and provides a flawless, long-lasting finish. Whether painting a home or a small commercial property, taking the time to clean, repair, sand, and prime surfaces is essential for achieving professional results.
By following the right preparation steps and working with experienced professionals, homeowners and business owners can enjoy a beautifully painted space that stands the test of time. Green Diamond Painting offers expert services to help with every step of the painting process, ensuring quality and durability for every project.