In the world of beauty and self-expression, nails play an the essential role in showcasing personality or style. From bold designs to natural looks, nail enhancements have become a staple in the beauty industry. Among the many options available today, press-on nails are gaining tremendous popularity for their convenience, affordability, and professional-quality results. This guide takes a deep dive into everything you need to know about press-on nails—from their history to application techniques—helping readers embrace this trend with confidence.
What Are Press-On Nails?
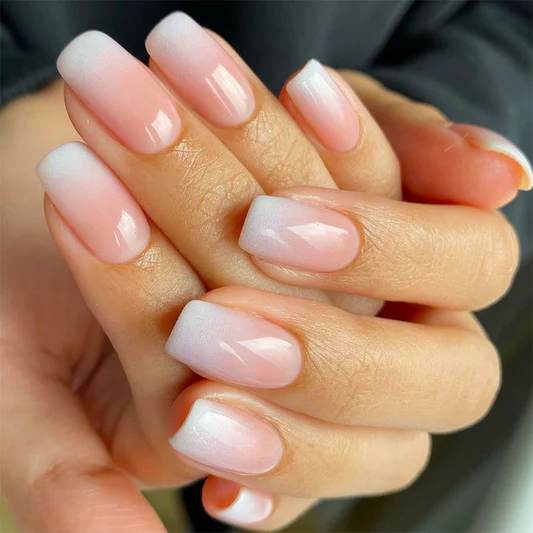
Press-on nails are pre-designed artificial nails that can be applied directly to natural nails using adhesive tabs or nail glue. Unlike traditional acrylics or gels, they offer an easy, non-committal way to achieve salon-quality manicures at home. Available in countless styles, shapes, and lengths, press-on nails cater to everyone—from those who prefer a classic French manicure to trendsetters who love bold, artistic designs.
The Evolution of Press-On Nails
Press-on nails are not a new concept. Their origins date back to the late 20th century when they were introduced as a quick beauty fix. Over the years, advancements in design, materials, and technology have transformed them into durable, high-quality beauty products. Modern press-ons are not only lightweight but also reusable, making them a sustainable option for beauty enthusiasts.
Why Choose Press-On Nails?
- Convenience:They can be applied within minutes, eliminating the need for lengthy salon appointments.
- Affordability:Compared to acrylic or gel nails, press-ons provide a cost-effective alternative without compromising on style.
- Variety:With endless designs, colors, and shapes, there’s an option for every occasion.
- Damage-Free:When applied and removed correctly, they are less damaging to natural nails than acrylics or gels.
- Reusable Options:Many modern press-ons can be reused, making them eco-friendly and budget-friendly.
How to Apply Press-On Nails Like a Pro
Achieving the perfect press-on manicure requires following a few essential steps:
- Prep Your Nails:Clean nails thoroughly, push back cuticles, and lightly buff the nail surface for better adhesion.
- Choose the Right Size:Select press-ons that best fit each nail for a natural look.
- Apply Adhesive:Use either nail glue for the longer wear and adhesive tabs for a temporary solution.
- Press and Hold:Apply each nail or hold firmly for 10–15 seconds to the ensure secure adhesion.
- Shape and Style:File the press-ons to your desired length or shape if needed.
Tips for Long-Lasting Results
- Avoid soaking your hands in water immediately after application.
- Wear gloves while doing household chores to protect your nails.
- Keep a small tube of nail glue handy in case of emergencies.
- Store reusable press-ons carefully for future applications.
Removing Press-On Nails Safely
Removing press-on nails is simple and painless when done correctly. Soak your nails in warm soapy water or use cuticle oil to loosen the adhesive. Avoid forcefully pulling them off, as this may damage natural nails.
Final Thoughts
Press-on nails have come a long way from being a temporary fix to becoming a go-to beauty accessory for millions worldwide. They allow individuals to express creativity, experiment with styles, and achieve salon-quality results in minutes—all without breaking the bank.
For those who want to dive deeper into this trend and explore professional-quality designs, they can learn more about press-on nails from Glamnetic—a brand known for redefining the beauty industry with innovative and stylish nail solutions.