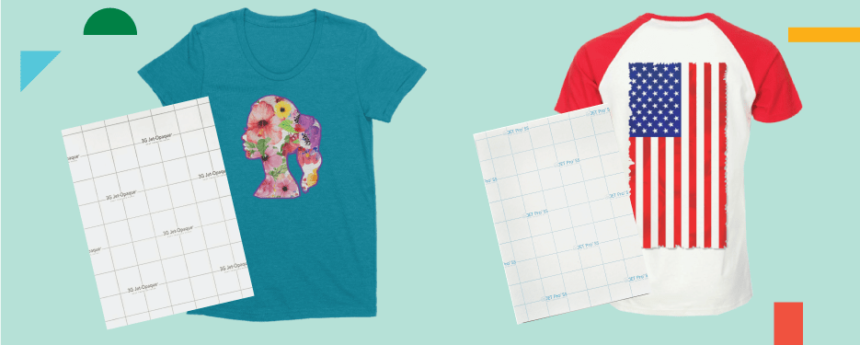
When it comes to personalizing apparel and other fabric items, HTV (heat transfer vinyl) is a go-to material for many crafters. With its versatility and wide range of options, selecting the right HTV for your project can make a significant difference in the quality and durability of your creations. Here’s a comprehensive guide to help you choose the perfect HTV for your next project.
Understanding Different Types of HTV
HTV comes in various types, each with unique characteristics suited for different applications. Here’s a breakdown of the most common types:
- Standard HTV: This is the most commonly used HTV, ideal for cotton, polyester, and poly/cotton blends. It’s available in a wide range of colors and finishes.
- Stretch HTV: Designed for fabrics that require flexibility, such as spandex and lycra, this HTV maintains its shape and adhesion even when stretched.
- Glitter HTV: Adds sparkle to your designs. It’s perfect for projects that need a touch of glamour, like dance costumes or festive apparel.
- Holographic HTV: Provides a multi-dimensional, reflective look, making your designs stand out with a unique visual effect.
- Flock HTV: This HTV has a fuzzy, velvety texture, ideal for creating a suede-like finish on your designs.
Factors to Consider When Choosing HTV
When selecting HTV, consider the following factors to ensure the best results:
- Fabric Type: The type of fabric you’re working with is crucial. Standard HTV works well with most fabrics, but for stretchy materials, opt for stretch HTV.
- Design Complexity: For intricate designs, choose an HTV that weeds easily and offers precise cutting capabilities.
- Durability: Consider the longevity of your project. For items that will be frequently washed or subjected to wear and tear, choose HTV known for its durability.
- Aesthetic Appeal: Think about the look you want to achieve. Glitter and holographic HTVs are great for eye-catching designs, while flock HTV offers a unique texture.
Preparing Your HTV for Application
Proper preparation is key to a successful HTV project. Follow these steps to get started:
- Design Creation: Use design software to create or import your design. Ensure the design is mirrored horizontally, as it will be applied face-down.
- Cutting the HTV: Use a cutting machine like a Cricut or Silhouette to cut your design. Make sure to adjust the blade settings according to the type of HTV you are using.
- Weeding: Remove the excess vinyl around your design. Use weeding tools for precision, especially with detailed designs.
Application Process
The application process involves heat and pressure to adhere the HTV to your fabric:
- Preheat the Fabric: Remove any moisture and wrinkles by preheating the fabric for a few seconds.
- Position the Design: Place the HTV design on the fabric, adhesive side down.
- Apply Heat and Pressure: Use a heat press for the best results, or an iron if you don’t have a heat press. Follow the manufacturer’s instructions for temperature and pressure settings.
- Peel the Carrier Sheet: Depending on the HTV type, peel the carrier sheet hot or cold. Check the HTV instructions for guidance.
Caring for HTV Projects
To ensure the longevity of your HTV creations, follow these care tips:
- Wash Inside Out: This helps protect the design from abrasion.
- Use Mild Detergents: Avoid harsh chemicals that can damage the HTV.
- Hang Dry or Tumble Dry Low: High heat can cause the HTV to crack or peel over time.
Conclusion
Choosing the right HTV for your project involves understanding the different types available and considering the specific needs of your fabric and design. By following these guidelines, you can create beautiful, durable custom items that stand the test of time. Enjoy your crafting journey with HTV and let your creativity shine!


