Walk into most residential garages and you’ll immediately notice the problem: dim, inadequate lighting that turns simple tasks into frustrating challenges. Shadows lurk in corners, detailed work becomes nearly impossible, and safety hazards go unnoticed in the murky gloom. This widespread issue doesn’t just inconvenience homeowners—it directly impacts productivity, accuracy, and workplace safety. The solution lies in modern garage lighting LED technology, but simply installing any LED fixture won’t solve the problem. The secret to transforming your garage from a dark storage cave into a bright, functional workspace is understanding lumens—the true measure of light output that determines whether your space will be properly illuminated or remain frustratingly dim. This comprehensive guide cuts through the confusion surrounding garage lighting, providing contractors and DIY enthusiasts with essential knowledge about lumens requirements, fixture selection, and installation strategies. Whether you’re upgrading a client’s workspace or improving your own garage, you’ll discover actionable steps for selecting and installing the perfect lighting system that delivers professional results every time.
Why Lumens Are the Critical Metric for Garage Lighting LED
For decades, homeowners and contractors selected light bulbs based on wattage, assuming higher watts meant brighter light. That assumption worked reasonably well with incandescent bulbs, but LED technology has completely changed the equation. Watts measure energy consumption, not light output—a critical distinction when working with energy-efficient LEDs that produce substantially more light per watt than traditional bulbs. A 100-watt incandescent might produce around 1,600 lumens, while an LED fixture consuming just 20 watts can deliver the same brightness. This is where lumens become essential: they measure the actual amount of visible light emitted by a source, giving you the only reliable metric for comparing brightness across different technologies.
Understanding lumens isn’t just technical knowledge—it directly impacts every project outcome. Insufficient lumens create shadows that hide critical details during precision work, force eyes to strain when reading measurements or identifying parts, and create genuine safety hazards by obscuring trip hazards, sharp tools, and moving equipment. Contractors installing inadequate lighting face callback complaints and dissatisfied clients who struggle to use their spaces effectively. Conversely, properly calculated lumens transform garage functionality entirely. Adequate illumination improves work accuracy, reduces eye fatigue during extended projects, enhances security by eliminating dark corners, and even positively affects mood and energy levels in the workspace. For contractors, mastering lumens means delivering reliable performance that keeps clients satisfied and builds your professional reputation on every installation.
Calculating Your Garage’s Lumens Requirements
Determining the right amount of light for your garage starts with a straightforward calculation based on square footage and intended use. The basic formula multiplies your garage’s floor area by the recommended lumens per square foot for your activity level. For general storage and light maintenance tasks, plan for 50 lumens per square foot. A typical two-car garage measuring 400 square feet would need 20,000 lumens total. Workshops where you perform detailed tasks like woodworking, automotive repair, or electronics work require 75-100 lumens per square foot—that same 400-square-foot space would need 30,000 to 40,000 lumens. For showroom-quality illumination or precision work involving fine details and color matching, aim for 100-150 lumens per square foot, pushing requirements to 40,000-60,000 lumens for that standard garage.
These baseline calculations provide your starting point, but several environmental factors significantly affect your actual requirements. Wall and ceiling color dramatically impacts light reflection and distribution throughout the space. Light-colored or white surfaces can reflect up to 80% of light, effectively amplifying your fixtures’ output and allowing you to stay at the lower end of recommended ranges. Dark walls and ceilings absorb light instead of reflecting it, potentially requiring 20-30% more lumens to achieve the same perceived brightness. Ceiling height creates another critical variable, especially in garages with high ceilings above the standard eight feet. As mounting height increases, light disperses over a wider area before reaching work surfaces, reducing effective illumination at ground level. For every foot above standard height, consider adding 10-15% more lumens to compensate for the increased distance and light spread.
Natural light availability also influences your calculations. Garages with windows or translucent door panels receive supplemental daylight during certain hours, potentially reducing artificial lighting needs for daytime work. However, contractors should always design systems assuming zero natural light to ensure consistent performance during evening hours and overcast conditions. Take measurements of your garage’s length, width, and ceiling height, then multiply length by width to get square footage. Assess your primary activities and select the appropriate lumens-per-square-foot target. Apply adjustment factors for dark surfaces or elevated ceilings, then use this total lumens figure as your shopping guide when selecting fixtures. This methodical approach ensures you purchase exactly what your space requires—neither wasting money on excessive lighting nor leaving yourself with inadequate illumination that defeats the entire upgrade purpose.
Choosing the Right Garage Lighting Solutions: A Contractor’s Guide
Once you’ve calculated your lumens requirements, selecting the appropriate fixtures becomes the next critical decision. LED shop lights represent the most popular choice for standard garages, typically delivering 4,000-8,000 lumens per four-foot fixture in a linear format that provides excellent coverage when installed in rows. These fixtures mount flush to ceilings or suspend via chains, making them adaptable to various installation scenarios. LED strip lights offer a sleeker alternative, with linkable units that create continuous runs of light ideal for modern garage aesthetics, though they typically require more units to achieve comparable output. For commercial garages and spaces with elevated ceilings, high-bay LED fixtures concentrate powerful output—often 15,000-30,000 lumens per unit—into focused downward beams that penetrate the increased mounting distance effectively.
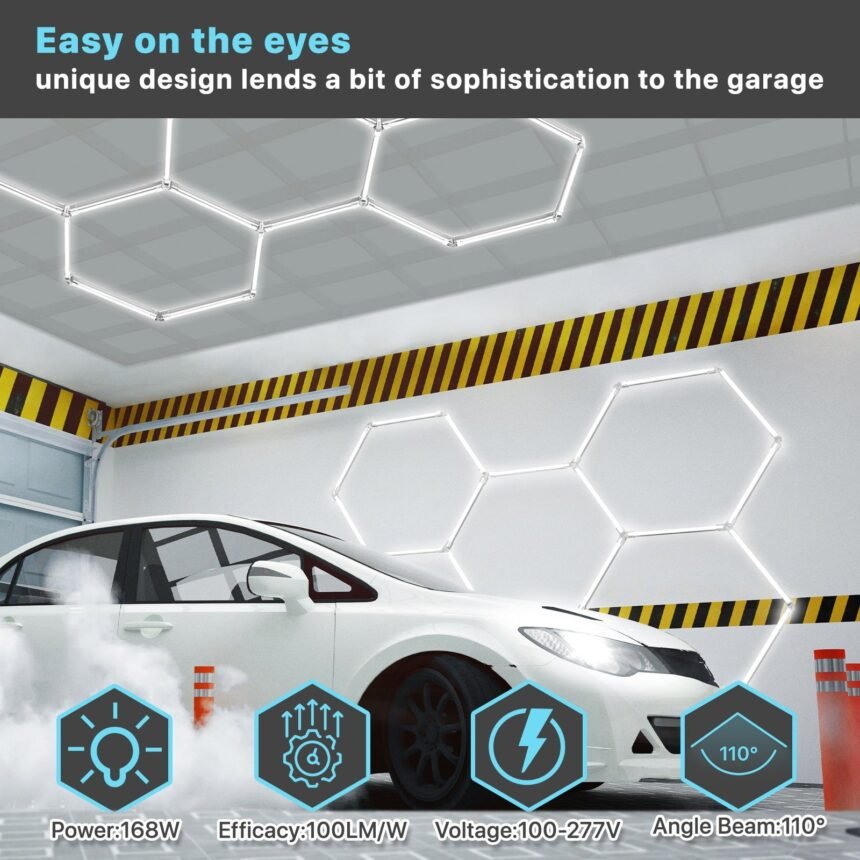
Professional contractors prioritize three specifications beyond raw lumens when selecting fixtures for client installations. Durability matters tremendously in garage environments where temperature fluctuations, dust, moisture, and occasional impacts test equipment limits. Look for fixtures with robust aluminum housings rather than plastic, IP65 or higher ratings for dust and moisture resistance, and impact ratings suitable for the application. Manufacturers like Led Hyperlite design fixtures specifically for demanding workshop environments, incorporating features that withstand the rigors of daily garage use. Lifespan directly affects long-term value and client satisfaction—quality LED fixtures should offer minimum 50,000-hour ratings, translating to over 15 years of typical use before significant degradation occurs. Color temperature dramatically influences workspace functionality and comfort. The 4000K-5000K range, often labeled “neutral white” or “daylight,” provides the optimal balance for garage work, offering crisp visibility without the harsh, sterile feel of higher temperatures or the dingy yellow cast of lower ratings.
Special Considerations for Garages with High Ceilings
Garages with ceilings extending beyond ten feet present distinct lighting challenges that standard fixtures cannot adequately address. As mounting height increases, light spreads over progressively larger areas before reaching work surfaces, creating two problems: reduced illumination intensity at ground level and potential dark spots between fixtures. High-bay LED fixtures specifically address these issues through optical designs that focus light into tighter beam angles, typically 60-90 degrees compared to the 120-degree spread of standard shop lights. This concentrated output maintains intensity over longer distances, ensuring adequate illumination reaches workbenches and floor areas. For a garage with 12-14 foot ceilings, plan for 30-40% more total lumens than the baseline calculation suggests, and space high-bay fixtures closer together than you would standard lights—typically 8-10 feet apart rather than 12-15 feet. Mount fixtures strategically above primary work zones rather than distributing them evenly, creating pools of intense light where tasks actually occur while accepting slightly lower ambient levels in storage or traffic areas.
Installation and Layout: Maximizing Your LED Lighting Performance
Even the highest-quality fixtures will underperform if poorly positioned, making strategic layout planning essential before purchasing or installing any garage lighting system. Start by sketching your garage’s floor plan to scale, marking permanent fixtures like workbenches, tool cabinets, vehicle parking positions, and storage shelving. Identify your primary work zones where detailed tasks occur—these areas demand the brightest, most shadow-free illumination. For standard eight-foot ceilings, position four-foot shop lights in parallel rows spaced four to five feet apart, running perpendicular to the garage door to minimize shadows as you face your work. This configuration creates overlapping light patterns that eliminate dark gaps between fixtures. In spaces with workbenches along walls, mount one row of fixtures directly above the bench at 18-24 inches from the wall, ensuring light falls directly onto work surfaces rather than creating shadows from your body as you lean over projects.
Wiring strategy significantly impacts both installation efficiency and long-term functionality. Rather than connecting all fixtures to a single switch, create separate lighting zones controlled independently. Wire perimeter fixtures on one circuit and central fixtures on another, allowing you to illuminate specific areas for focused tasks while leaving unused sections dark to conserve energy. For workshops with dedicated machinery or workbench areas, add task lighting on separate switches—these supplemental fixtures provide concentrated illumination exactly where precision work occurs without over-lighting the entire space. When running electrical lines, use junction boxes to daisy-chain fixtures rather than running individual circuits to each unit, reducing wire runs and simplifying installation. Always follow local electrical codes and consider hiring licensed electricians for complex installations, especially when adding new circuits to your panel.
Before finalizing fixture purchases, conduct a pre-installation assessment by temporarily positioning fixtures or using portable work lights to simulate your planned layout. This practical test reveals potential shadow problems, identifies areas needing additional coverage, and confirms your lumens calculations translate to real-world brightness. Pay particular attention to corners and areas behind large equipment where shadows naturally accumulate. For these problematic zones, position fixtures at angles that direct light into corners rather than parallel to walls. Once installed, evaluate your system during actual work sessions at different times of day, making notes of any dark spots or glare issues. Quality LED systems often allow fixture additions or repositioning during the first few weeks as you fine-tune the layout for optimal performance in your specific workflow patterns.
Transform Your Workspace with Proper LED Lighting
Transforming your garage from a dimly lit storage space into a bright, productive workspace begins with a single critical step: understanding and accurately calculating your lumens requirements based on square footage and intended use. By moving beyond outdated wattage thinking and embracing lumens as the true measure of light output, you gain the power to specify exactly the illumination your space needs—whether that’s 20,000 lumens for basic storage or 60,000 lumens for precision workshop tasks. Selecting durable, high-performance LED fixtures with appropriate color temperatures, robust construction, and proven longevity ensures your investment delivers reliable results for years to come. Strategic installation that accounts for ceiling height, fixture spacing, and work zone positioning maximizes every lumen, eliminating shadows and creating uniform coverage that enhances both safety and functionality. For contractors, mastering these principles means delivering installations that exceed client expectations, reduce callbacks, and build lasting professional reputations. For DIY enthusiasts, it means creating a workspace that genuinely supports your projects rather than hindering them. A properly lit garage doesn’t just illuminate—it increases property value, enables more ambitious projects, and transforms how you use one of your home’s most versatile spaces every single day.